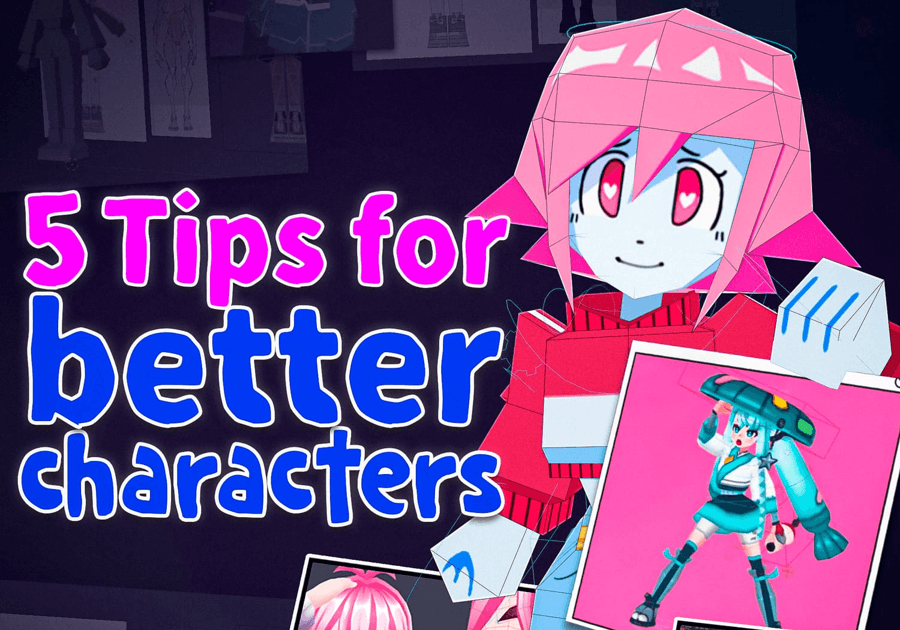
The Ultimate Blender Tips & Tricks Library
Learn from the community. Level up your 3D skills with tips, shortcuts, and workflows from experienced Blender artists.
Jump to Section ▼
Navigation & Interface Shortcuts
Master the interface and navigate like a pro.
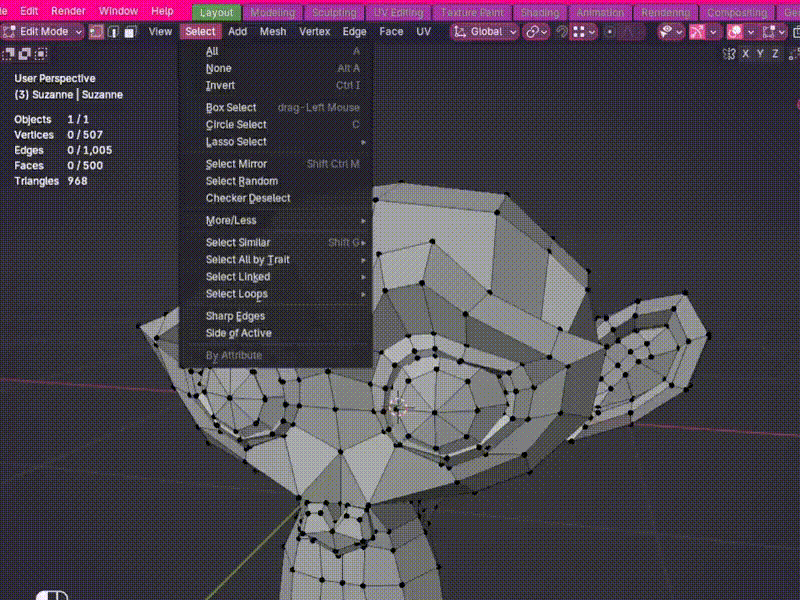
Master the Select Menu
The Select menu offers precise tools for selecting linked geometry, edges, and patterns. Well worth exploring early on.
Fly Around the Scene Freely
Press Shift + ` to enter Fly Navigation. Use WASD to move, Q/E to go up/down, scroll to change speed.
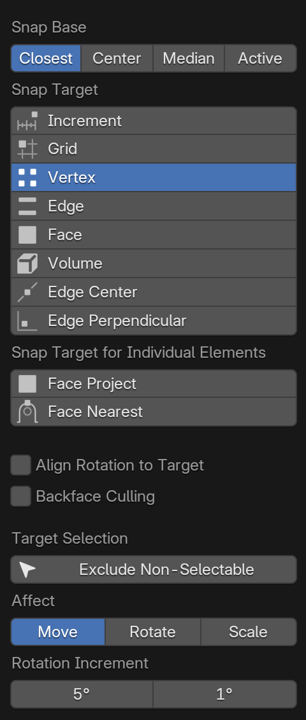
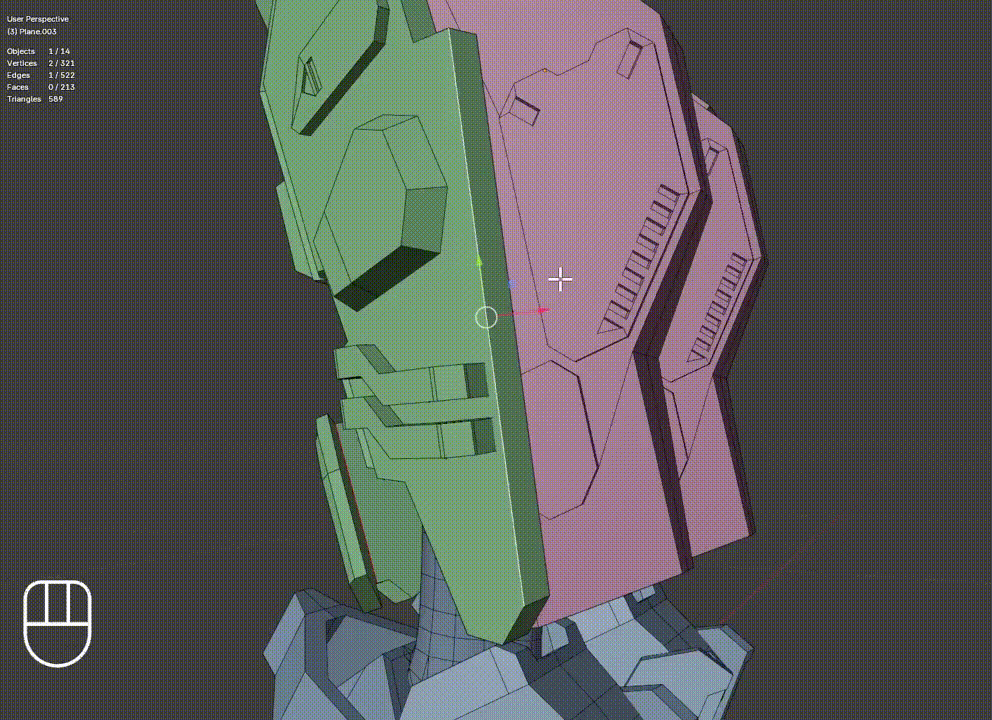
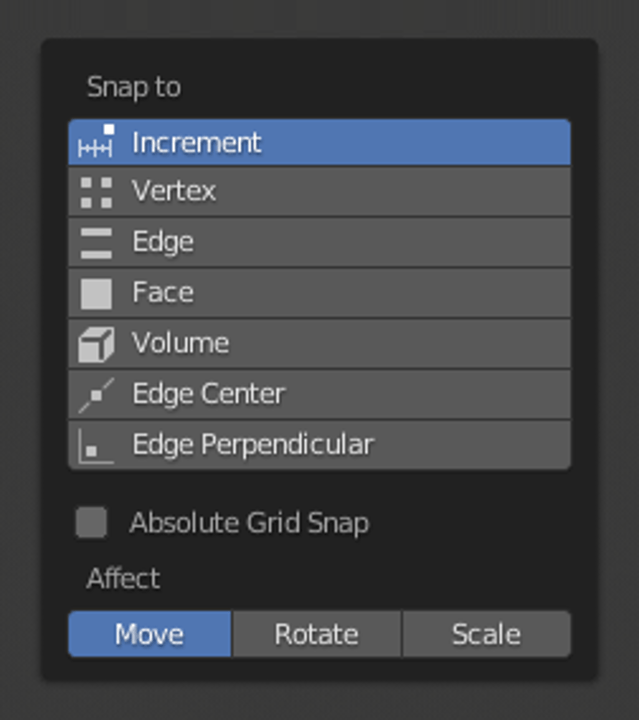
Open the Snap Menu Instantly
Press Ctrl + Shift + Tab to open Snap menu without moving your mouse. Switch between Vertex, Grid, or Increment snapping.
Search for Any Command with F3
Press F3 and type what you're looking for. Blender's search bar instantly finds and runs any command.
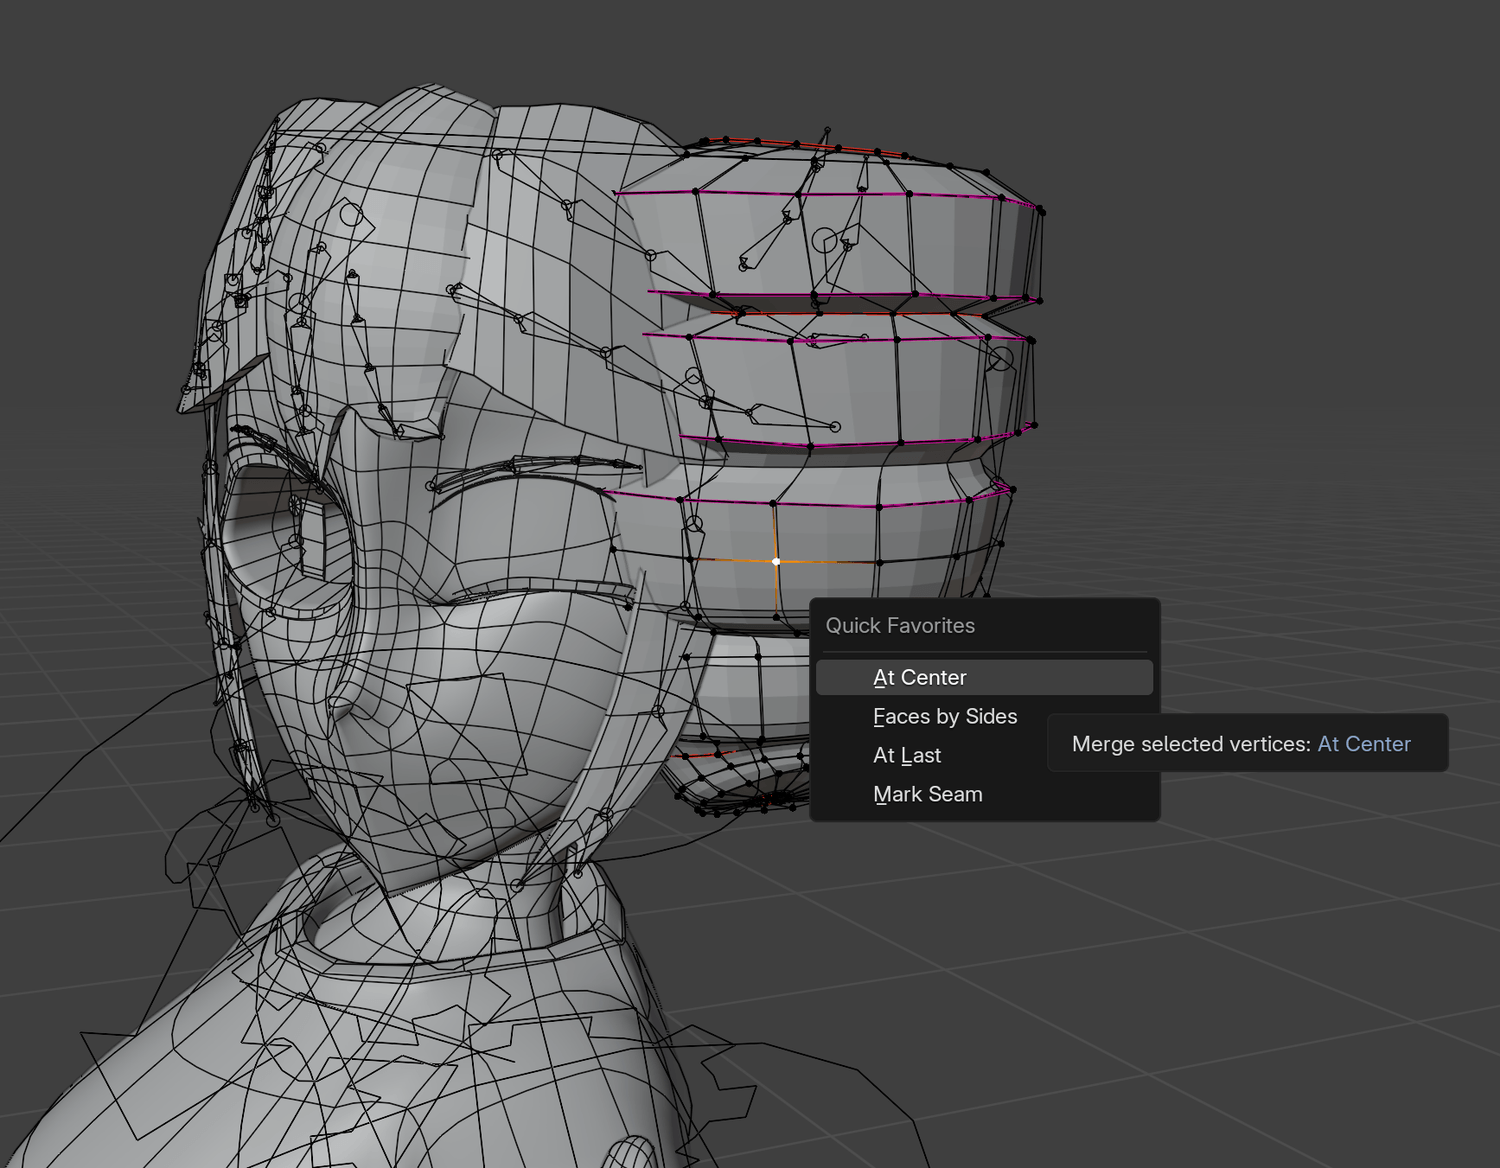
Use Quick Favorites for Common Tools
Right-click any tool and select Add to Quick Favorites. Access them later by pressing Q.
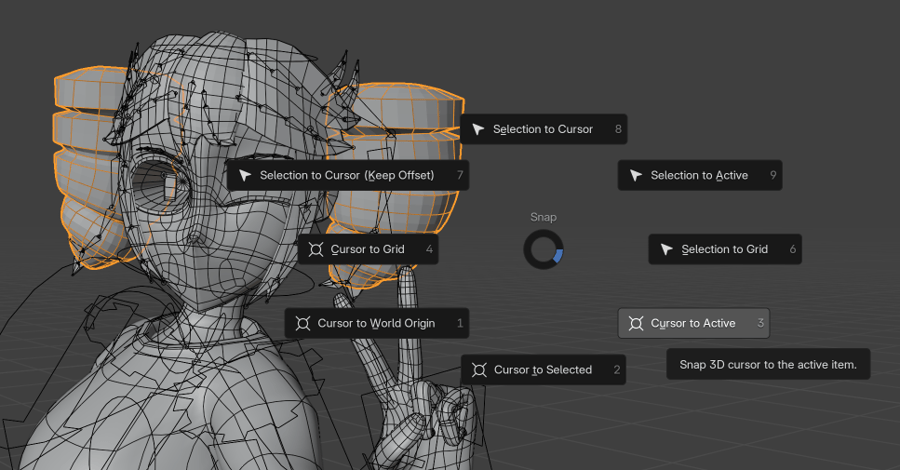
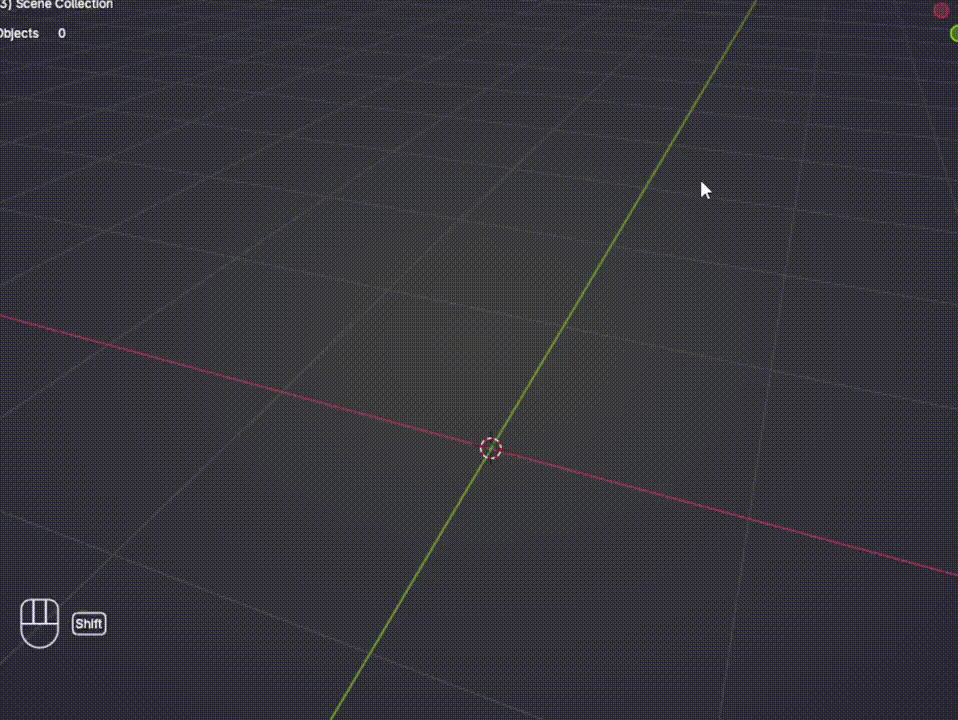
Master the 3D Cursor for Precise Placement
Use Shift+S → Cursor to Selected to place the 3D cursor exactly where you need new objects to spawn.
Modeling & Mesh Tricks
Optimize your geometry and master essential modeling techniques.
Flatten or Merge Geometry with Scale
Press S and constrain to a single axis (X/Y/Z) to flatten or align geometry quickly.
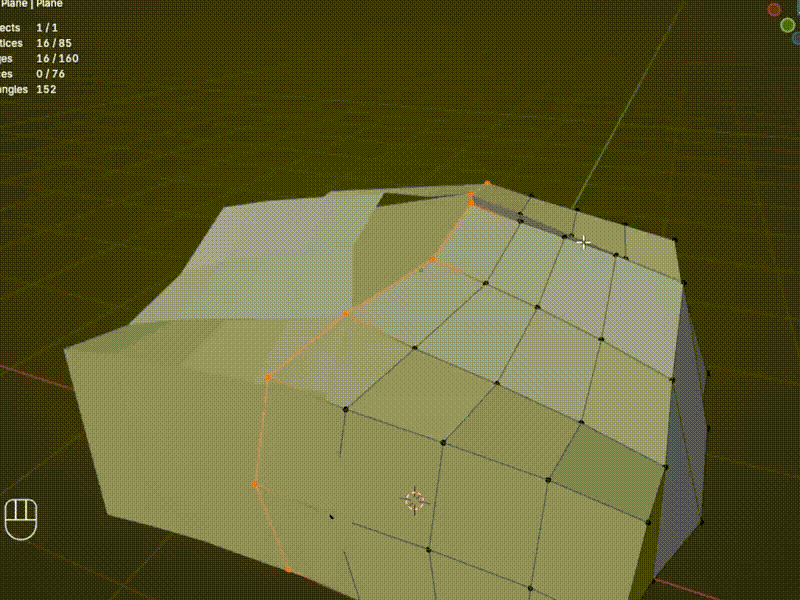
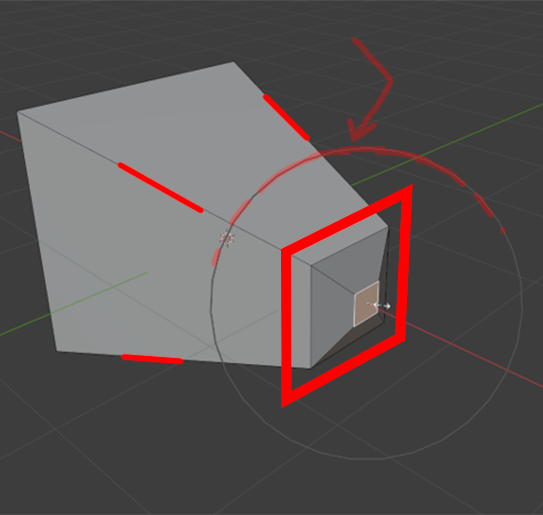
Fill Holes Instantly
Select two parallel edges or open faces and press F to fill them with a new face instantly.
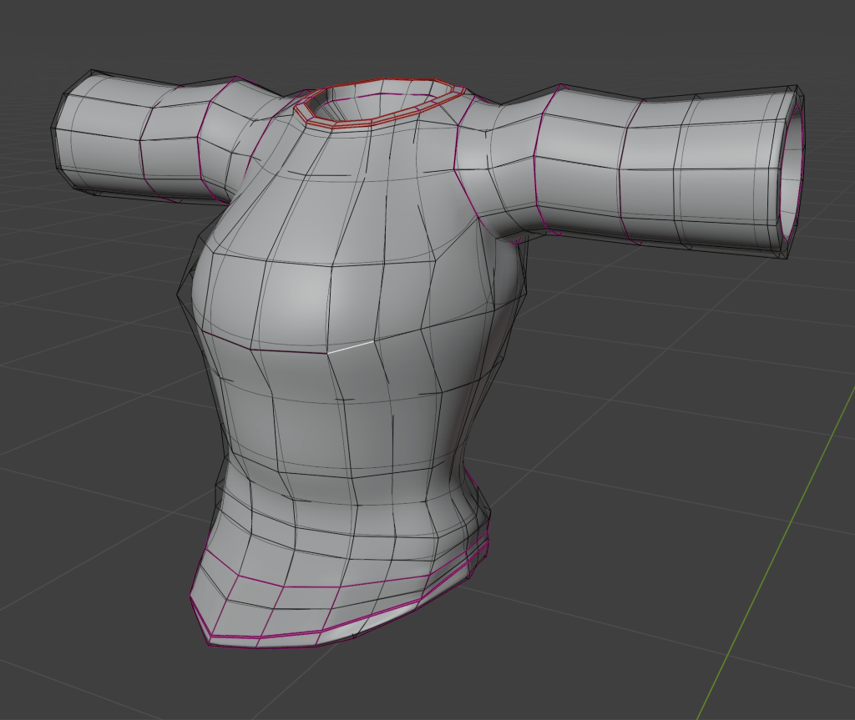
Extract Mesh Parts for Clothing
Select an edge loop, press Shift+D, then P → Separate by Selection to create new objects from selections.
Control Edge Sharpness with Creasing
Press Ctrl+E → Edge Crease on subdivision surface models to control which edges stay sharp.
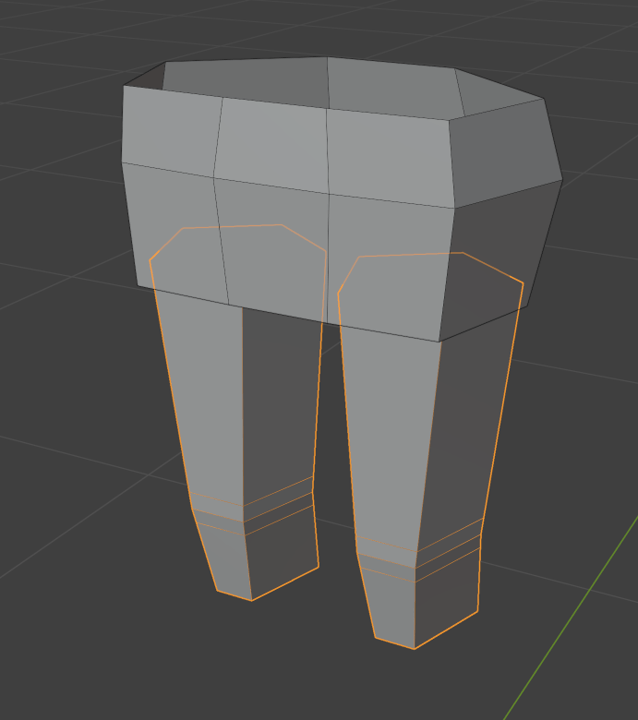
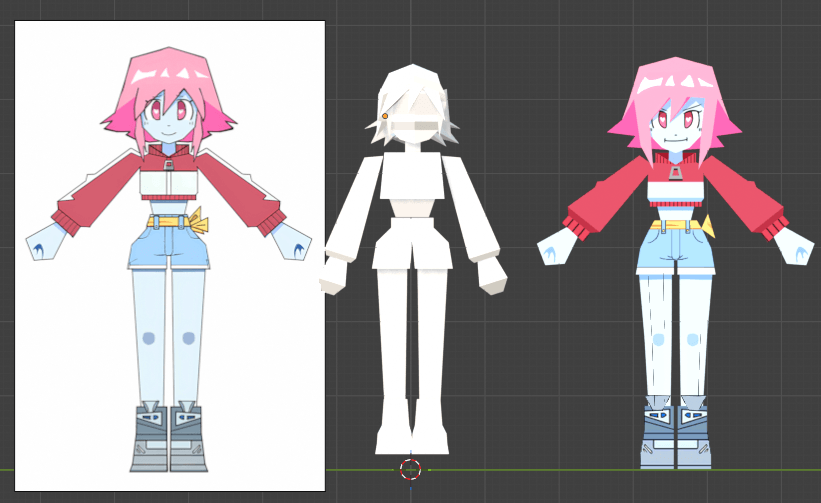
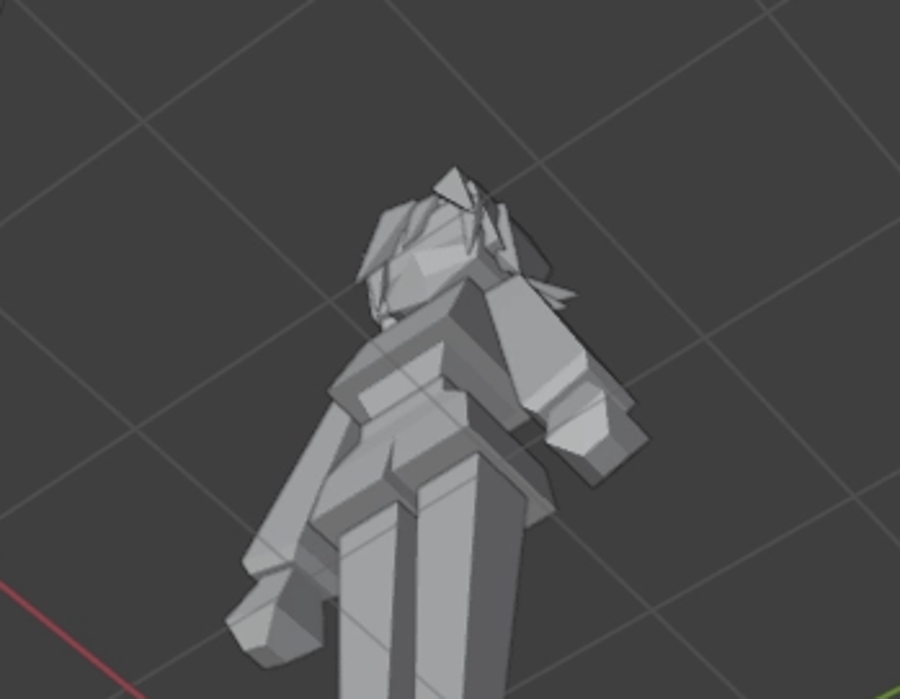
Start with Cylinders for Rounded Forms
Cylinders are often better than cubes when modeling rounded shapes like wheels, legs, or arms.
Soften Faceted Models with Smooth Vectors
Use Smooth Vectors under Mesh → Normals to make low-poly models look smoother while keeping their style.
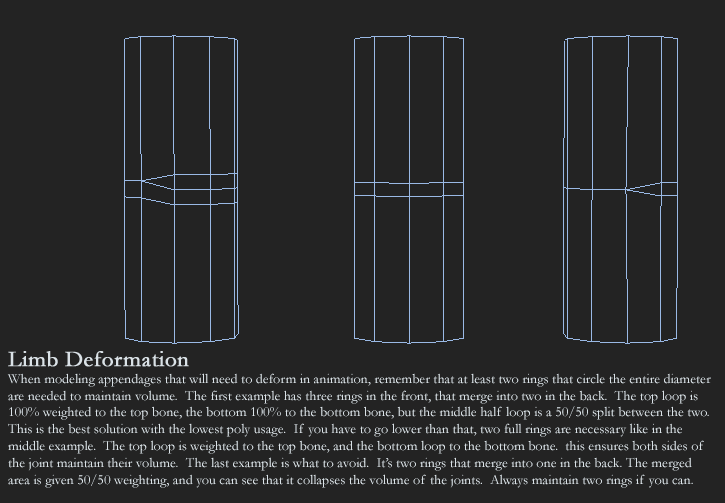
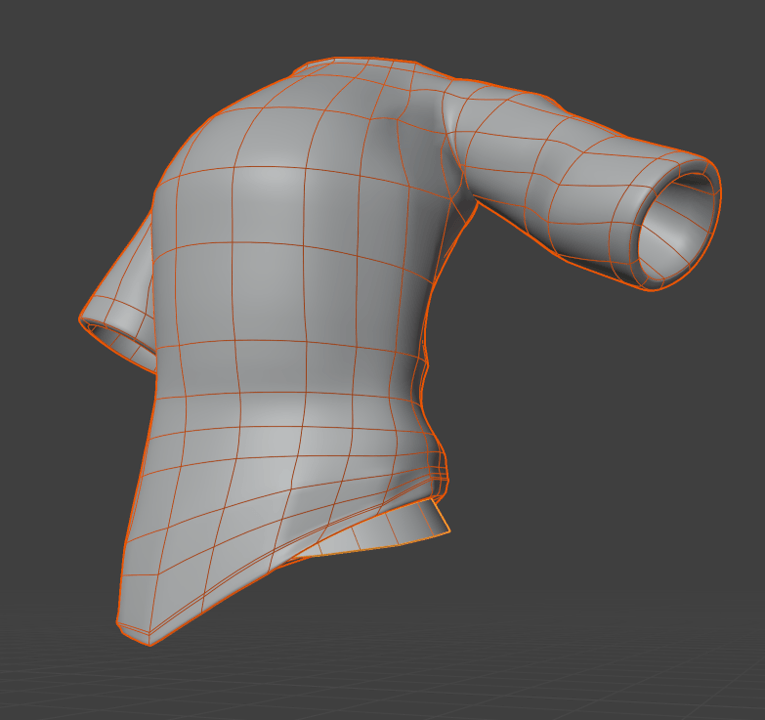
Improve Deformations Around Joints
Keep fewer edges on the inside of bends and more on the outside for smoother, natural deformations.
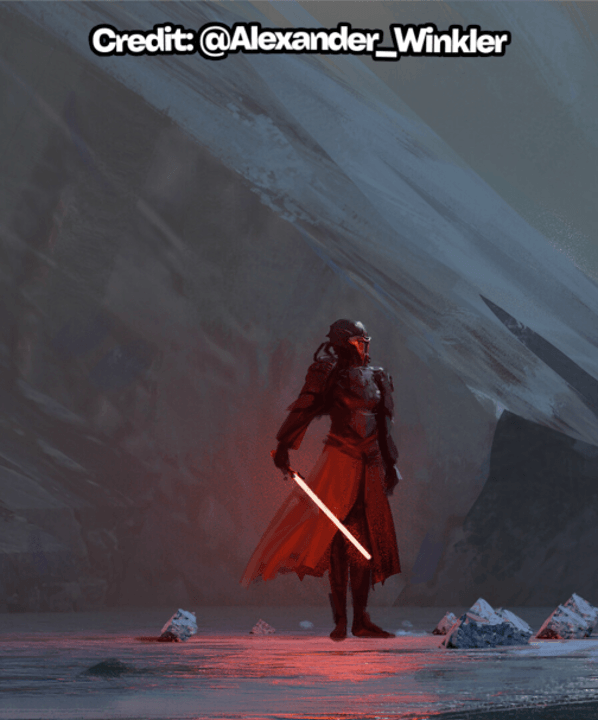
See These Techniques in Action
Watch the techniques in this library applied to a real project. Build an animated low poly character step by step, even if you've never opened Blender.
Start Learning NowWorkflow & Performance
Speed up your work and keep Blender running smooth.

Disable "Load UI" When Opening Files
When opening a .blend file with a chaotic layout, uncheck "Load UI" to load your default workspace instead.
Use Ray Tracing in Eevee on Low-End PCs
Enable Ray Tracing in Eevee's Render Properties for Cycles-quality lighting at a fraction of the performance cost.
Huge Collection of Blender Freebies
Grab Crashsune's full library of free Blender resources. Models, rigs, and assets you can drop straight into your projects.
Get the Freebies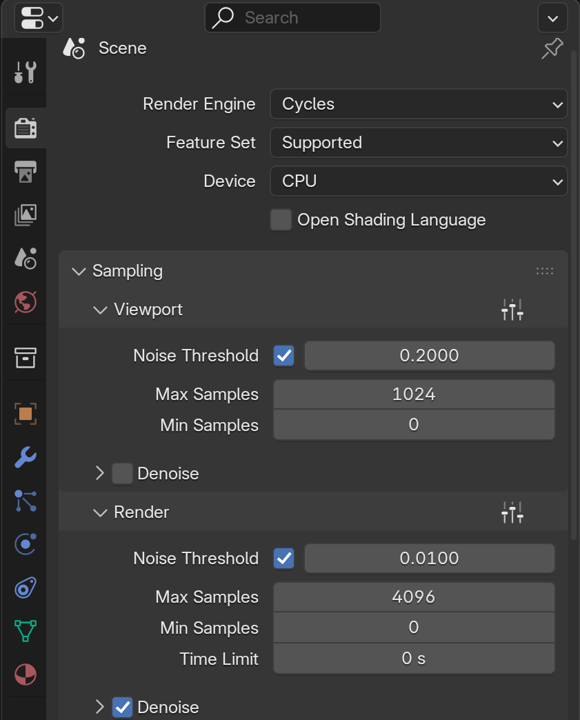
Speed Up Cycles Rendering
Raise the Noise Threshold in Render Properties → Sampling from 0.01 to 0.2–0.5 to drastically reduce render times.
UV Mapping & Texturing
Master UV unwrapping and texture techniques.
Use UVs as a Creative Tool
Work with UVs early to stay visually connected to your progress and treat them as part of your workflow.
Rendering & Exporting
Get your models ready for engines and platforms.
Export Animations for Discord
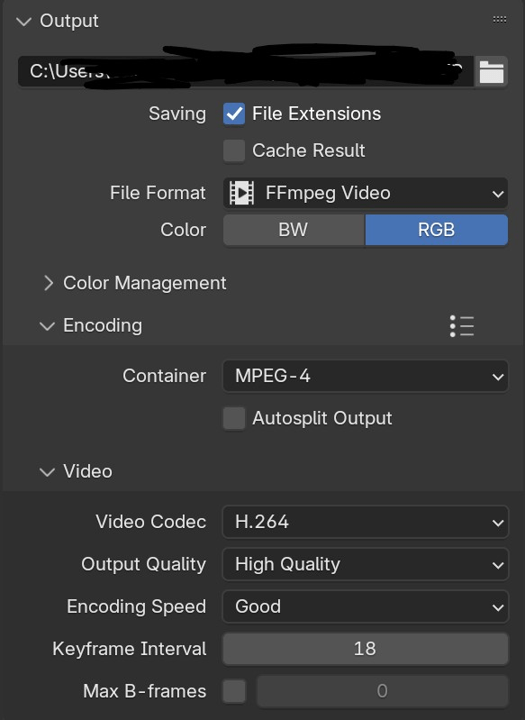
Set render format to FFmpeg Video, choose MPEG-4 (MP4) to get a file you can post directly to Discord.
10 Blender Problems That Would've Saved Me Hours
If I knew about them sooner.
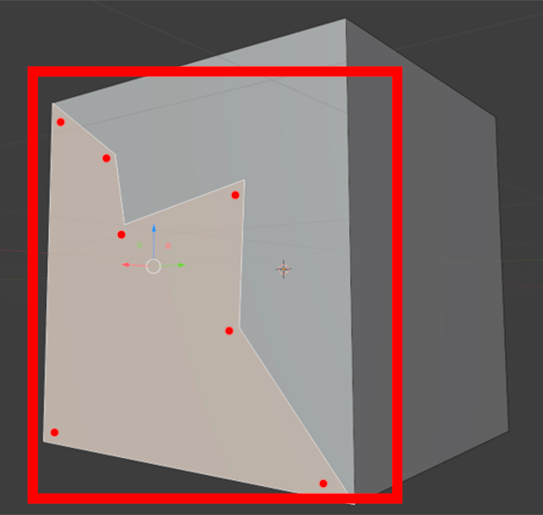
Find and Clean Up N-gons
N-gons (faces with more than 4 vertices) cause weird shading and deformation issues. Use Select by Trait to find and fix them.
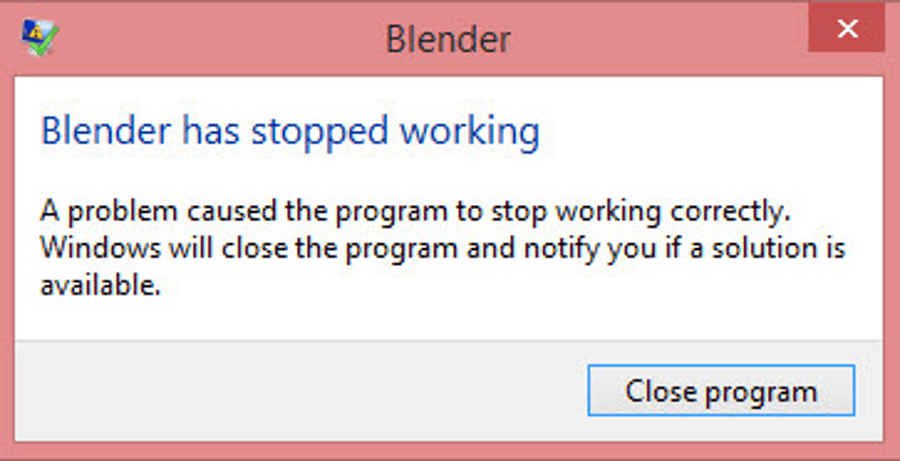
Save and Recover Blender Files
Use File → Recover → Auto Save or look for .blend1 files if Blender crashes. Save incrementally with Ctrl+Alt+S.
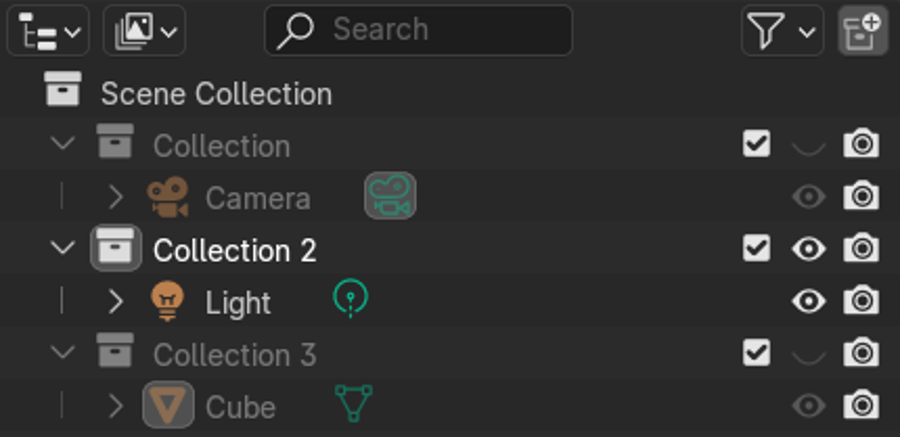
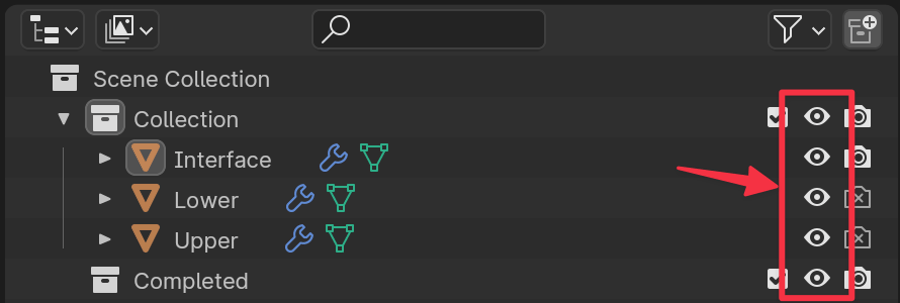
Recover Hidden Collections
Accidentally hid objects with number keys? Press Ctrl+Z or use the Outliner eye icons to make them visible again.
Disable Accidental Snapping
Objects snapping unexpectedly? You probably hit Shift+Tab. Press it again or click the magnet icon to turn snapping off.
Turn Off Accidental Proportional Editing
Mesh moving like Jell-O? You activated Proportional Editing. Press O again to toggle it off.
Unhide Missing Geometry
Pressed H by accident? Press Alt+H in Edit or Object Mode to unhide everything.
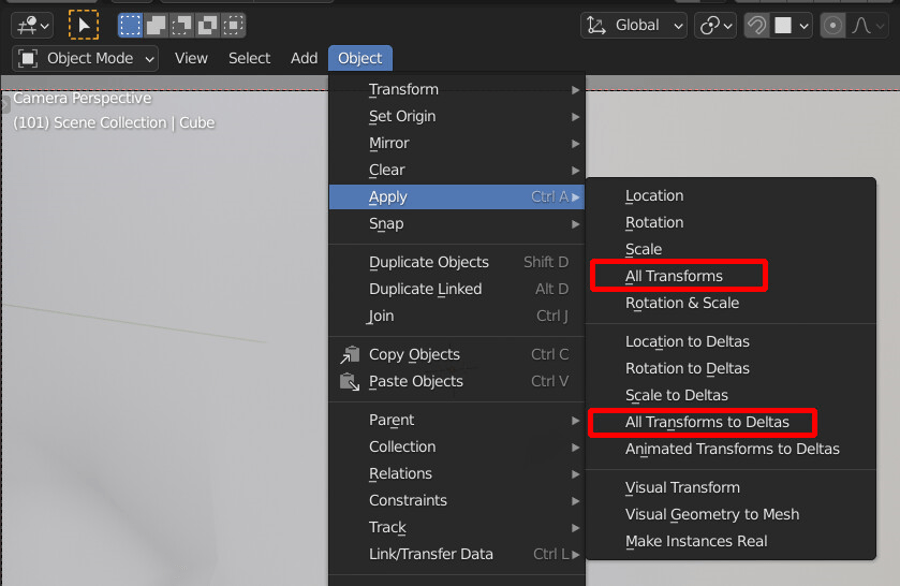
Apply Transforms Before Rigging or Export
Rotation and location transforms can mess up modifiers and exports. Press Ctrl+A → Apply All Transforms first.

Fix Overlapping Faces
Z-fighting (flickering)? You have overlapping faces. Use Merge by Distance in Edit Mode to fix.

Remove Duplicate Vertices
Overlapping vertices cause weird artifacts and messy shading. Select all and press M → Merge by Distance.
Apply Object Scale
Non-standard scale breaks modifiers. Press Ctrl+A → Apply Scale and check that all values say 1.000.
Low Poly Secrets I Wish I Knew Earlier
Get all these fixes and more as a downloadable PDF guide. The shortcuts and gotchas that save hours, in one handy reference.
Download the GuideLow-Poly Art & Character Design
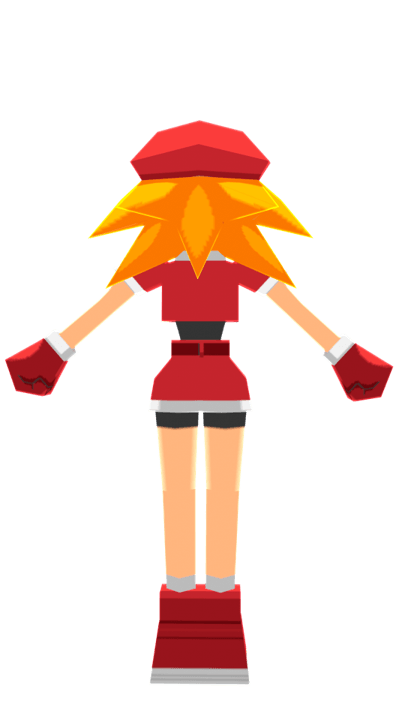
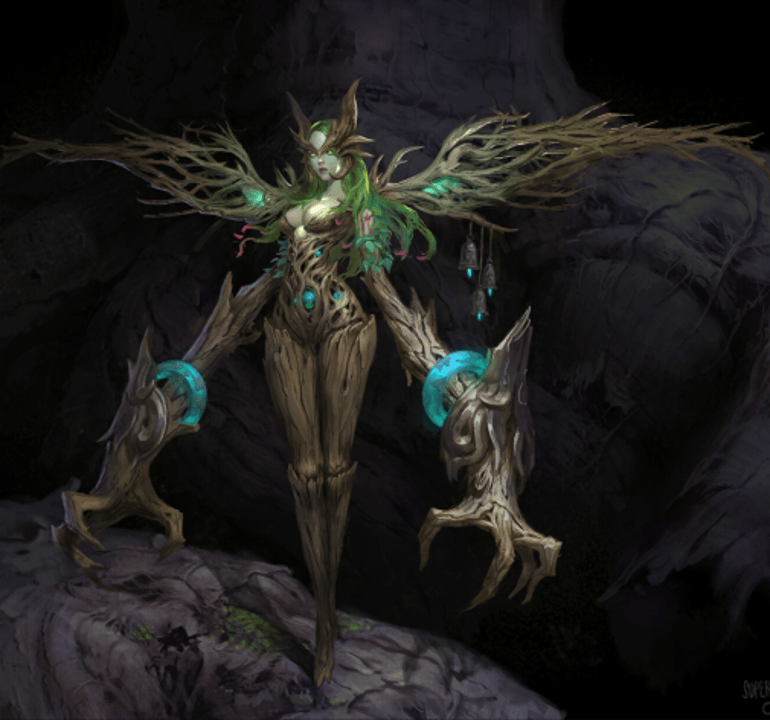
Master the art of stylized, efficient character design.
Preserve Pixel Art with Point Filtering
Use Point Filtering instead of Bilinear to preserve the crunch of pixel art on small textures.
Texture Hair with a Tiny Gradient Map
Create a 32x32 pixel gradient strip and park your hair UVs on it. The ultimate UV cheat code.
Frame the Character's Face
Use framing devices like glowing halos, oversized collars, or dynamic tendrils to guide the viewer's eye.
Guide the Eye with Saturation
Use hyper-saturated, bright colors to guide the viewer's eye to your character's focal points.
Balance Detailed and Quiet Textures
Contrast busy, detailed textures with completely smooth areas. The eye will rest on the quiet spaces.

Create Proportional Contrast
Put drastically different scales next to each other. Massive shapes vs tiny details create visual impact.
Create Shape Contrast
Mix blocky, low-poly bodies with sharp, angular hair and eyes. Contrast in shape draws the eye.
Use the Big–Medium–Small Shape Rule
Balanced designs rely on hierarchical shapes. This gives your character balance and readability.
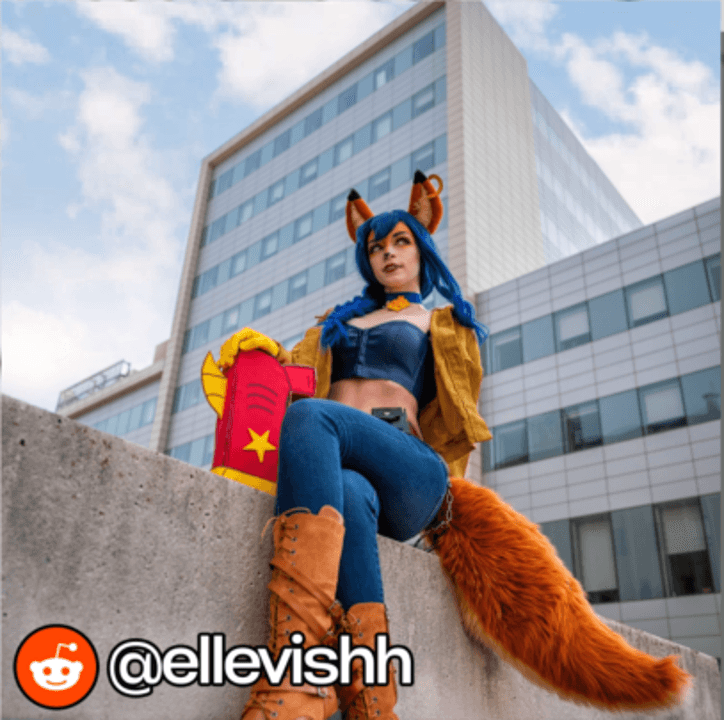
Use Cosplay as Clothing Reference
Pull up real-world cosplay references when designing stylized clothing. See exactly where the stitching is.
Free Animation-Ready Pomni Character
She features a fully integrated facial rig, full Rigify support, and numerous body and face controls for super expressive animations. Download her free.
Get Pomni FreeCharacter Blockout Fundamentals
Start strong with a solid foundation.
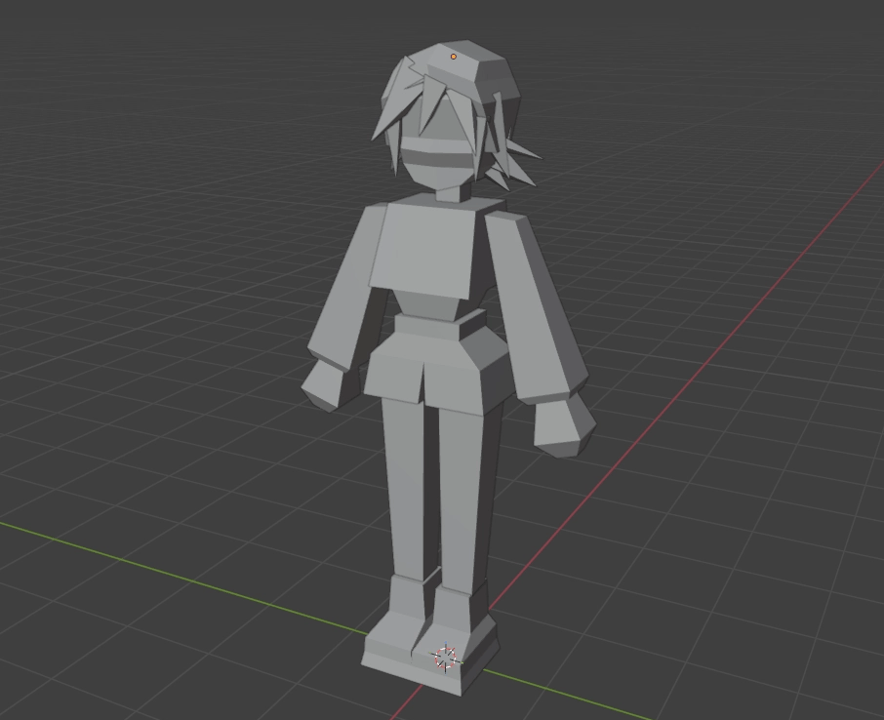
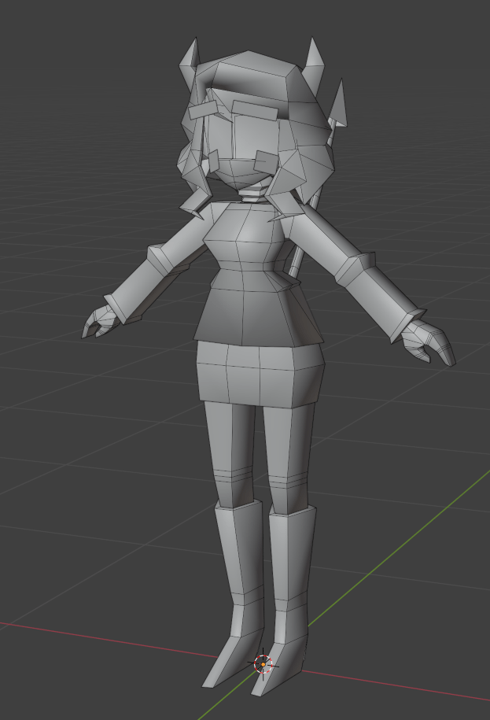
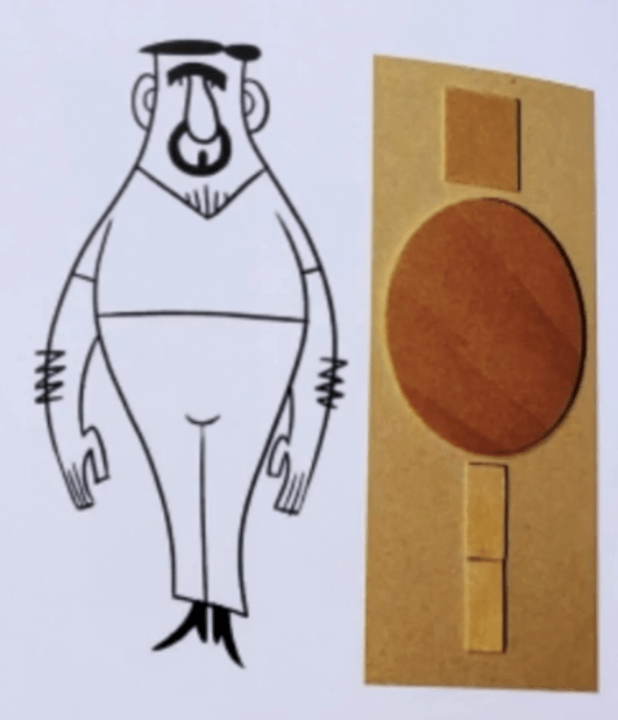
Start with Simple Shapes
Break characters into straightforward primitives before worrying about details. Hands can be cubes, heads rounded cubes.
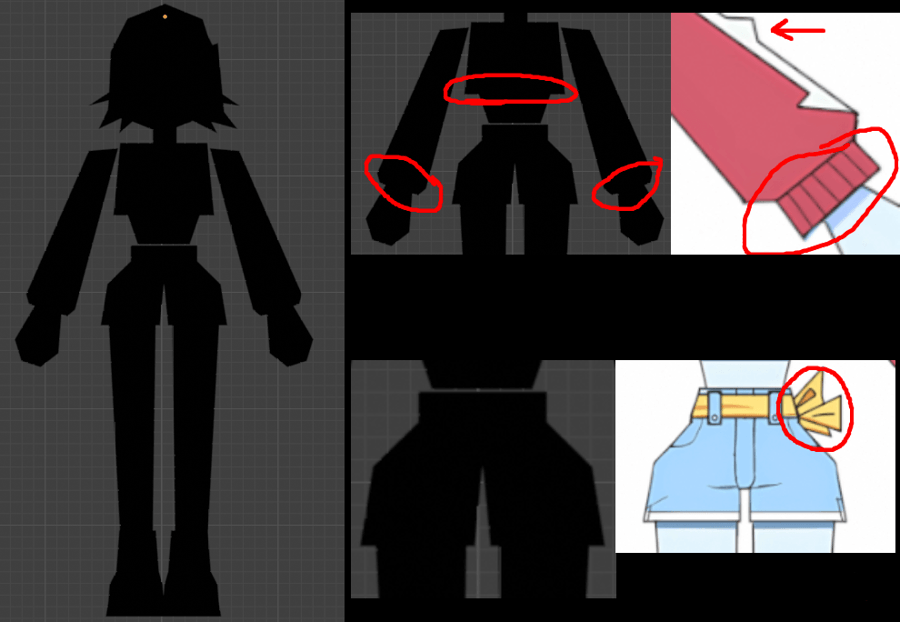
Judge the Silhouette Early
Check if your character reads clearly from a distance and multiple directions before refinement begins.
Inspect from Unusual Angles
Look from top, bottom, side, and off angles to expose proportion problems that front view hides.
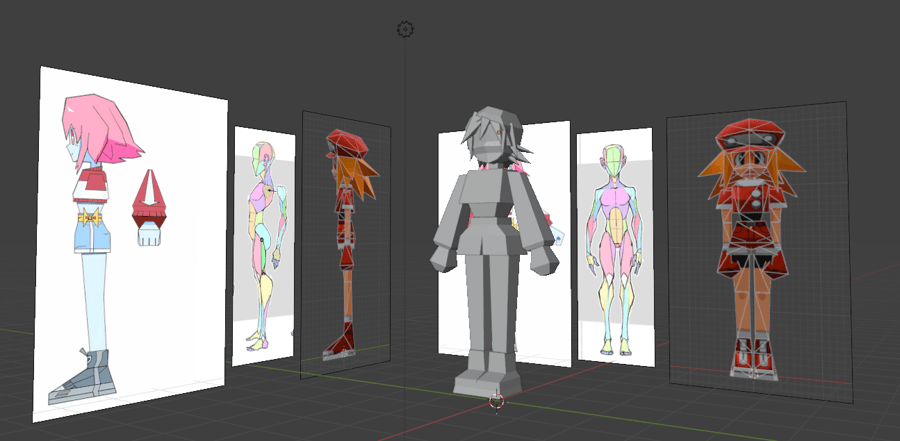
Annotate and Compare References
Keep character art and anatomy studies visible while working. Add annotations to maintain proportion consistency.
Know When the Blockout Is Ready
Don't tweak forever. Move to refinement when the form is readable and main proportions are correct.
Community Advice from Experienced Artists
Real tips from real Blender users who've been through it.
Study Topology from Games You Like
Extract models from games you love and study their topology. This teaches you why deformations and shading work.
Make More Models
It gets easier the more you do it. Don't be intimidated—just start making and you'll improve faster.
Start with What You Actually Want to Make
Skip the tutorials telling you to make a donut. Start with what excites you—motivation is key.
Learn Shortcuts and Use Mirror Workflows
Learn shortcuts faster. Use Mirror Instance—you only need to work on half the model.
Keep the Hotkey Reference Open
Keep the hotkeys window visible with a search bar. Overwhelmed? This simple tool helps tremendously.
Just Keep Doing It Until It Looks Right
Don't get stuck on perfection. Keep iterating—you can always undo. Do it until you like it.
Finish Projects Instead of Tutorials
Tutorials don't teach—finishing does. Follow through on projects even if they're ugly at first.
Don't Abuse Subdivision Surfaces
Subdivision modifier is powerful but easy to overuse. Use it intentionally, not as a crutch.
Use Fewer Polygons Than You Think
Optimize more aggressively. You can often get away with less geometry than you expect.
Frequently Asked Questions
What experience level is this library for? ▼
Can I use these tips for game character modeling? ▼
Are these tips compatible with all Blender versions? ▼
How often is this library updated? ▼
Is there a more comprehensive course available? ▼
Can I contribute my own tips? ▼
Create Animated Low Poly Characters – Even If You've Never Opened Blender
Join 4,500+ students learning the complete low-poly character workflow from concept to final render.
Enroll in the Course